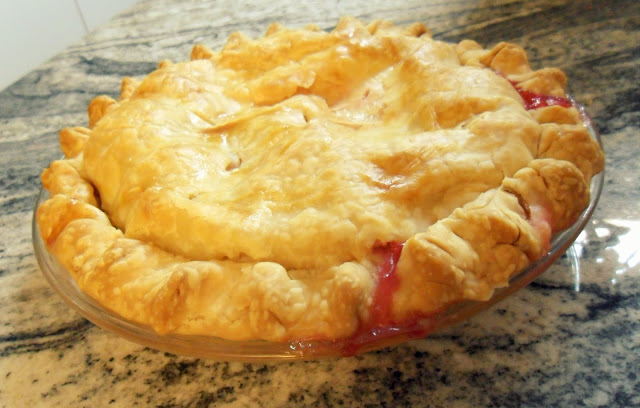
Back to the aforementioned affinity to make themed food for football weeks. The Browns were playing New Orleans Saints, so I made jambalaya! I was surprised at how much I liked this. It’s not a typical flavor profile I would go for, and honestly, I still struggle to find Instant Pot dishes that I think are better than just okay. This one was great and would also make an excellent meal for hosting a party!
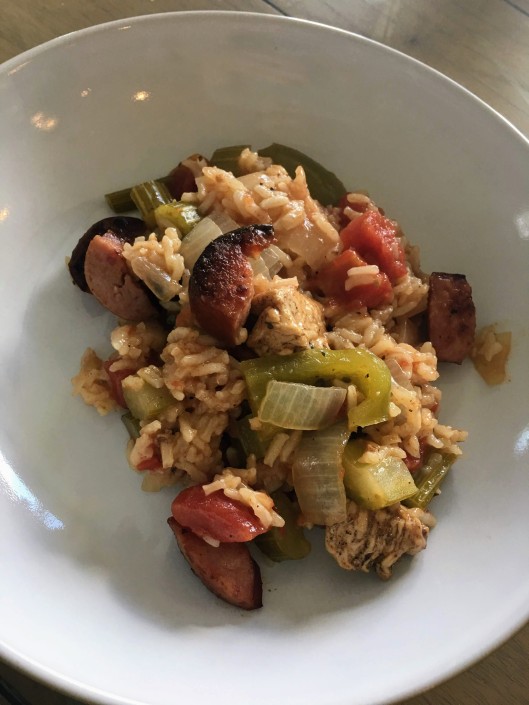
Instant Pot Chicken and Sausage Jambalaya
- 2 Tbsp. oil, divided
- 12 ounces andouille sausage, cut into 1/4 in. thick slices (I used kielbasa to reduce spice level for kids, and because I’m not a big fan of andouille.)
- 1 boneless, skinless chicken breast cut into small pieces
- 1 yellow onion, chopped
- 1 green bell pepper, chopped
- 3 green onions, chopped
- 3 ribs celery, chopped
- 3 cloves garlic, minced
- 2 tsp. Cajun seasonings
- 1 tsp. dried basil
- 1/4 tsp. dried thyme
- ½ tsp. granulated sugar
- 1 1/2 cup long grain white rice
- 14.5 ounce can diced tomatoes, undrained
- 1 3/4 cups low-sodium chicken broth
- 1/2 tsp. kosher salt
Turn instant pot to saute setting, and add 1 Tablespoon of oil. Once heated, add sausage/kielbasa slices, and cook until browned, about 2-3 minutes per side. Transfer to a paper towel–lined plate.
Add remaining 1 Tablespoon of oil to the pot, and add the chicken and cook for one minute, scraping up the browned bits from the sausage. Turn off instant pot. Add onion, bell pepper, celery, and garlic, and allow residual heat to cook for one minute or until you have a chance to add the seasonings.
Add Cajun seasoning, dried basil, thyme, and rice and stir to combine.
Add diced tomatoes with juice, chicken stock, and salt.
Seal the instant pot lid and turn valve to sealing. Cook on Manual High Pressure for 5 minutes. When the timer beeps, allow the pressure to naturally release
for 5 minutes, and then quick release the remaining pressure.
Remove the lid carefully, and gently fluff the rice with a fork. Add the sausage/kielbasa back on top of the rice and return the lid to let the mixture rest for an additional 5 minutes. Then, stir and eat!
Recipe Source: Tastes Better From Scratch